For each lesson within your course, you can customize the lesson icon and label that is displayed in your Course Player and the Course Curriculum on your landing page!
In this article:
About This Feature
Each lesson type has default icons and labels that your students will see in your Course Player as well as the Course Curriculum section of your landing page. This helps your students see what type of content is included in your course at a quick glance.
If you find that this default doesn't quite match the lesson content you are delivering, you can customize it! You can edit any default icons and/or labels per lesson. Label text can also be customized as desired.
How It Works
Lesson icons and labels will appear within the Course Player sidebar as well as in your Course Curriculum on your course landing page. There are default icons for each lesson type.
In the Course Player, the icons and labels appear under the lesson title in the sidebar. You can see what the default icons and labels are for each Thinkific lesson type below:
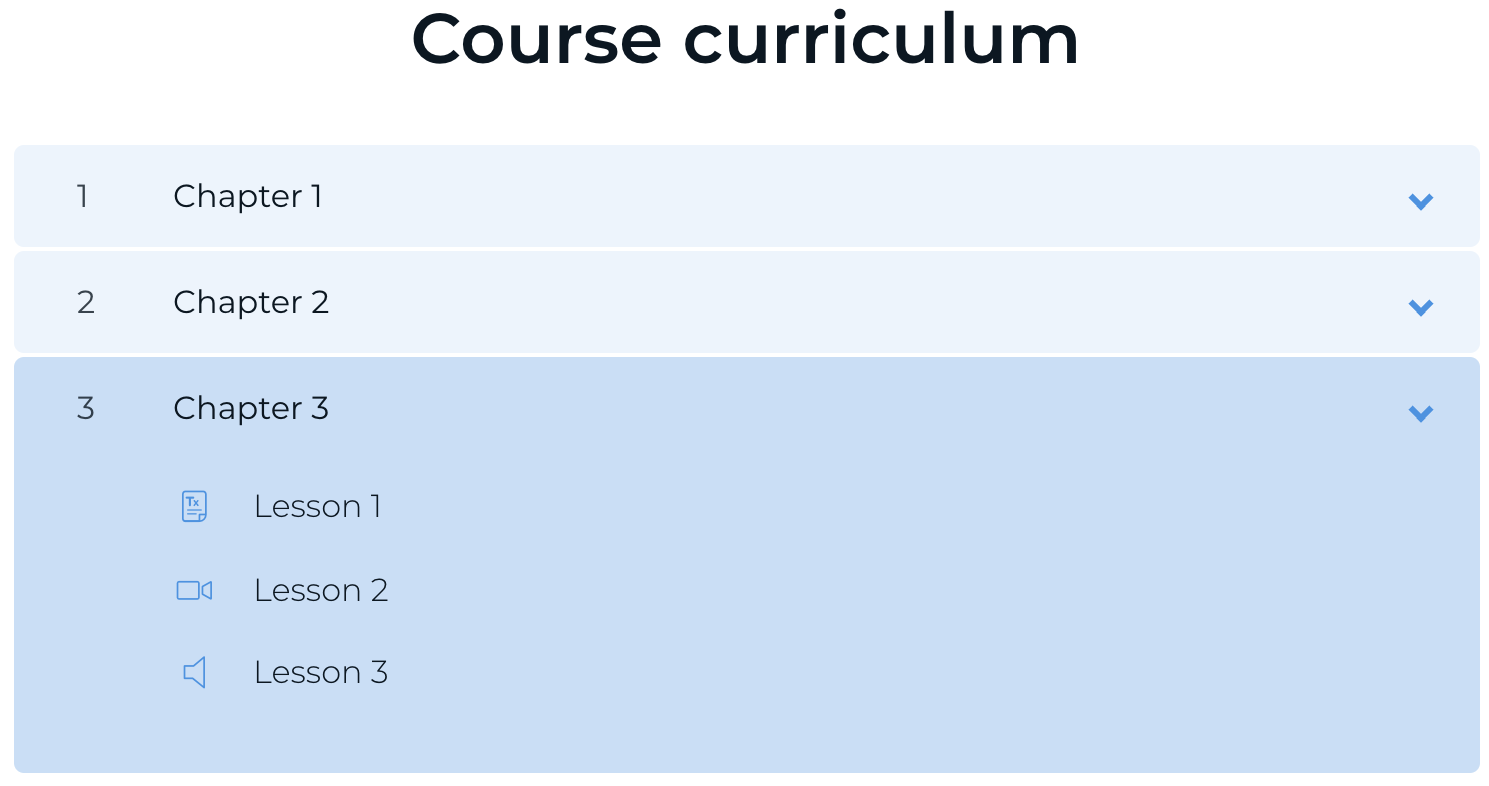
If you are using a Course Curriculum section on your course landing page, the lesson icons will be displayed to the left of your lesson titles:
How to Edit Your Lesson Icon & Label
- Go to Products
- Select Courses
- Click on a specific course in the Course Overview
- You will now be in the Course Curriculum area of the Course Builder
- Click on the lesson title of the lesson you want to edit
- Under Lesson icon & label, click on the current icon
- Select a new icon from the dropdown menu
- To the right of your icon, input your desired label text
- Click Save lesson
How to Hide Your Lesson Icon & Label
If you prefer to hide the lesson icons and labels that are displayed within the Course Player, this can be applied within your course settings.
- Go to Products
- Select Courses
- Click on a specific course in the Course Overview
- Select the Settings tab
- Select Course Player appearance
- Check off Hide lesson type icon and label
- Select Hide icon and label or Hide icon only
- Click Save settings
If you select Hide icon and label, the Course Player sidebar will only include lesson titles:
If you select Hide icon only, the Course Player sidebar will include label text under each lesson title:
Hiding lesson icons and labels will only apply to the Course Player, icons will still be visible in the Course Curriculum on your course landing page.
Important Considerations
- There are 12 icon options to choose from; you cannot upload your own icons
- If you don't customize your lesson icon and label, the default will be displayed
- You can customize your icon and label per lesson; there are no bulk edit actions available at this time
- Translations are supported on default lesson text only. If you have customized your text, it will not translate