Drip is a marketing automation platform and an email marketing service. Zapier can be used to add a tag to a subscriber in Drip after enrolling in your Thinkific course.
Add a Tag to a Subscriber
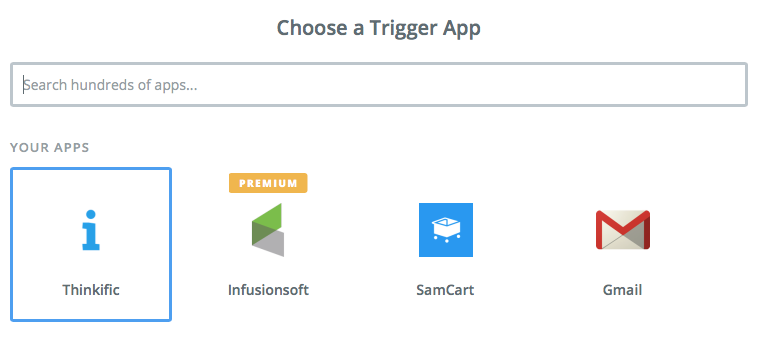
- Create a new Zap and select Thinkific as your Trigger, then Save and Continue:
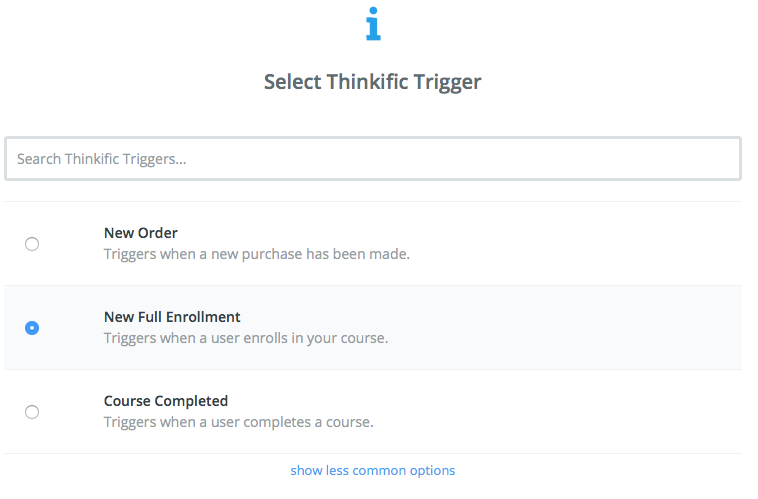
- Select the relevant trigger. In this example, we're using New Full Enrollment:
- Connect and select your Thinkific account, then Save and Continue:
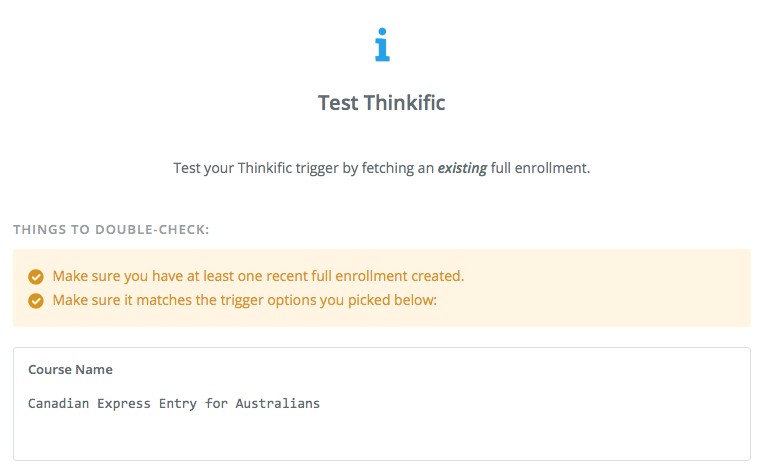
- Select the course or bundle name that you want to trigger the Drip action:
- Test the trigger:
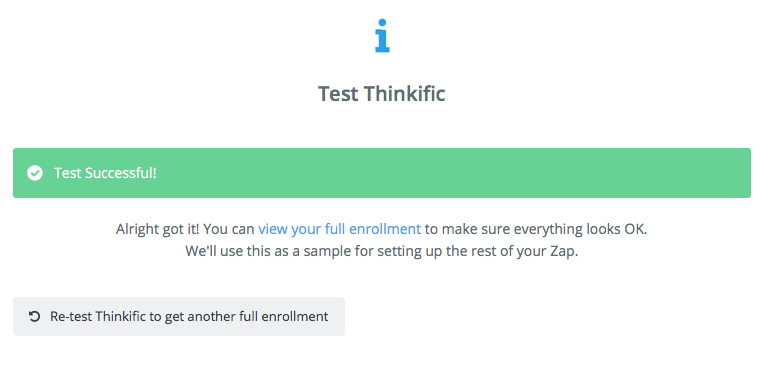
- When the test comes back successful, your trigger is good to go:
- Now that you have your trigger set up, create your action. Under Action, select Drip, Save and Continue:
- Select the relevant Drip action. In this example, we're using Create or Update Subscriber. Then, click Save and Continue:
- Connect and select your Drip account, Save and Continue:
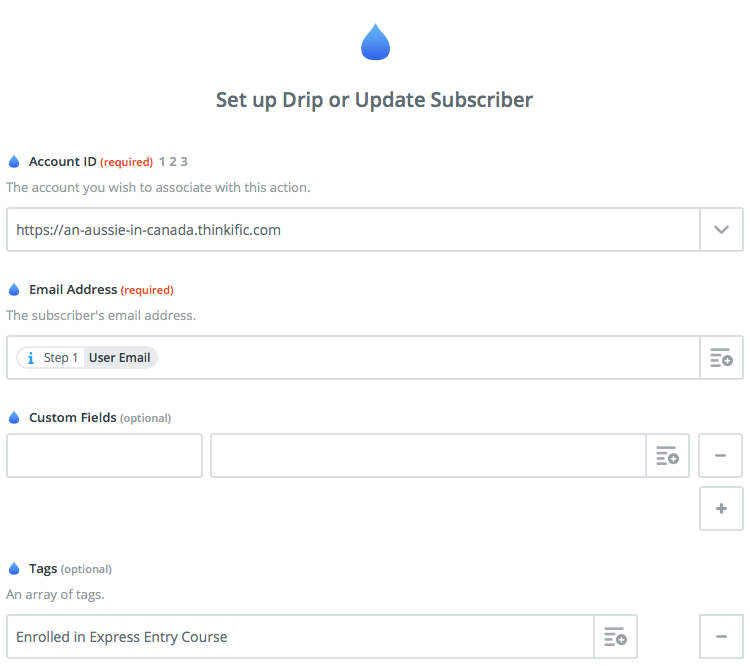
- Add your Drip Account ID (which will likely be your Thinkific site URL). Add the User email as scraped from Step 1 of your Zap. Add any Tags that you created from your Drip account and other optional fields. Continue:
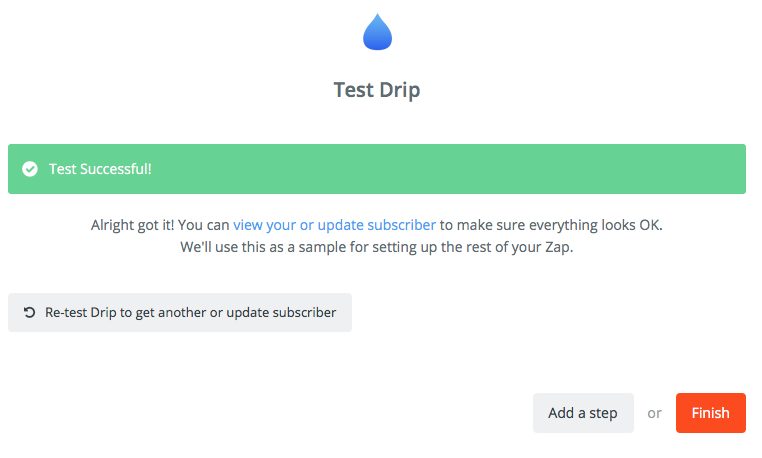
- Test the step, Create and Continue:
- Once the test comes through successful, turn on your Zap:
- You are all set!